Passtab SSO using AzureAD
These are your setup steps inside the AzureAD Console in preparation for Passtab SSO:
- SP Entity ID / Issuer: https://yoursite.passtab.com
- Redirect URL: https://yoursite.passtab.com/?q=samlassertion
- Logout URL: https://yoursite.passtab.com/user/logout
Step 1: Configuring AzureAD as Identity Provider (IdP)
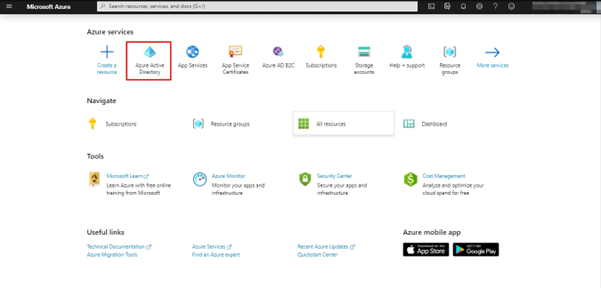
- Navigate to your Azure AD portal.
- Click on Azure Active Directory from Azure services
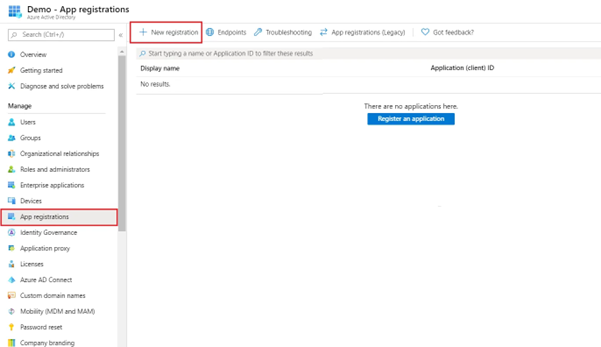
- In the left-hand navigation pane, click the App registrations service, and click New registration.
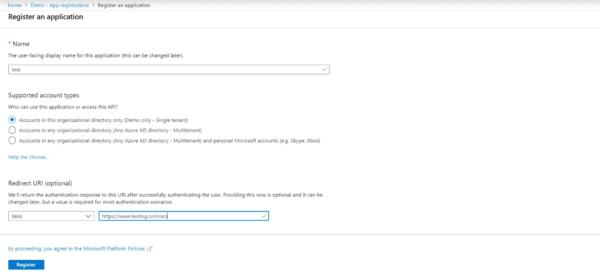
- Assign a Name and Redirect URI to application. Select Web app as Application type and click on Register
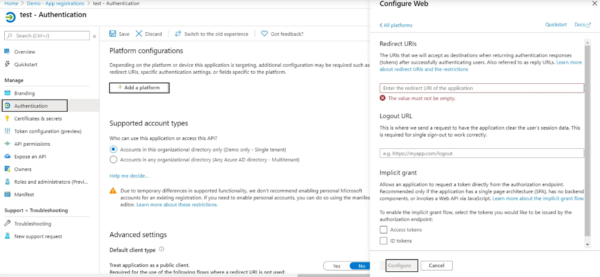
- You’ll see the app on App Registration window. Click on Authentication option which will open Authentication window and then click on Add a Platform button under this window. Now, add Redirect URI and Logout URL and click on Configure
- Please complete this form to submit your TXT name and TXT value to our configurations team, and book a suitable time to verify your domain (which will result in 15mins of maintenance mode on your account.
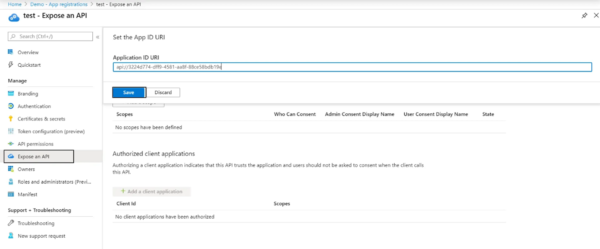
https://invisionoffice.passtab.com/ad-sso - Click on Expose an API display on the left side of Dashboard. Here change Application ID URI value with the SP-Entity ID / Issuer and save.
- Step 2: Configure Application
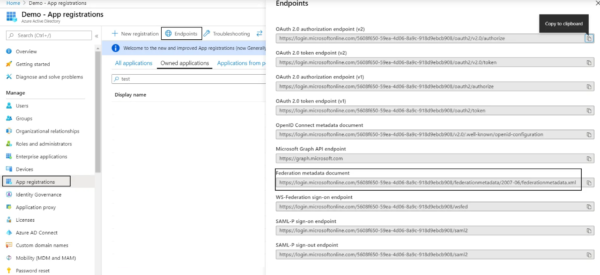
- Click on App registrations display on the left side of Dashboard.
- Click on Endpoints on App Registration window and copy Federation Metadata Document endpoint. You can also save the metadata document by going to this endpoint. Once saved, email this metadata document back to your Passtab contact.