
Visitor badge label printer set up instructions – Manual IP
Please disregard the Brother manufacturer instructions and complete the following steps instead.
Before you start
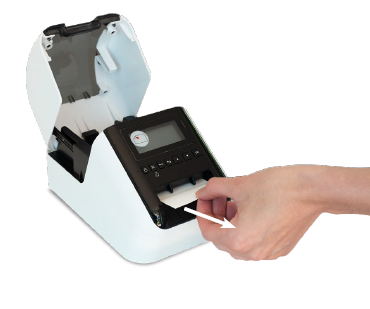
Remove the white foam tag located at the front of the printer, the printer lid needs to be opened first.
- Open the lid of the printer
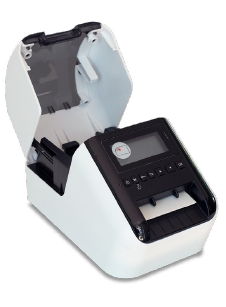
- Remove the foam tag
Connecting the printer to Passtab using Manual IP
Please note: Whilst Bluetooth is the quickest and easy way to connect the printer to the iPad, it only supports one connection at a time. As a result Bluetooth is not suitable for schools wanting multiple iPads connected to the same printer. To connect multiple iPads to the same printer, use either a Wi-Fi or Ethernet connection.
ATTENTION Western Australia, Government Schools
The WiFi method is not supported by Western Australian Government School networks. Please use the Bluetooth or Ethernet method. Also, your iPad must be on a managed Wi-Fi network (i.e. 2.4 or 5) – Not “Edupod” (similar to a Guest access for students) to connect the Printer.
WiFi
-
Prepare printer for WiFi connection
- Configure your Wi-Fi settings through the WLAN option in the menu on the printer’s digital screen
- Once your Wi-Fi has been configured you will see a Wi-Fi logo in the top right hand corner of the printer’s digital screen.
- This is now ready for the iPad to connect with it.
Or, Ethernet
-
Prepare printer for Ethernet connection
- Plug your ethernet cable into an Ethernet plug in your wall.
- Plug that connected ethernet cable to the back of the printer
- Make sure that the Wi-Fi is off in the printer menu, under WLAN settings
-
Connect the printer to the Passtab App
- Open the Passtab App by clicking on the icon on the iPad home screen

- Once Passtab has opened, tap your logo approx. 10 times to reveal the hidden menu.
- From this menu, click “Printer settings”
- Then click “Connect printer”

- Click “Manually configure the printer” in the menu.

- Enter the IP address of the printer. Then select the model from the list. To find the IP address of your printer click here
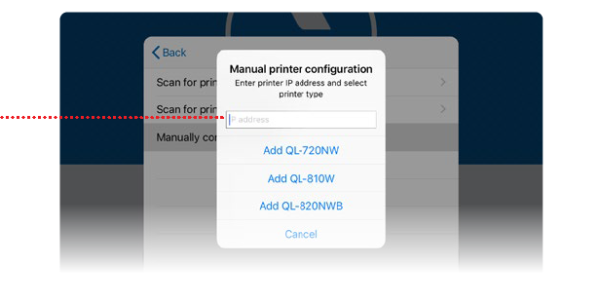
- Once the printer is selected, click “<Back”
- Open the Passtab App by clicking on the icon on the iPad home screen
-
Testing the connection
- To check the the printer has successfully connected to the Passtab App please print a test page.
- The final instruction in step 3 above should have you on a page in the printer settings menu that lists “Print test page”

- Click “Print test page”
- A test label should print. This is not your badge design, it’s just a test print.
-
Choosing your visitor badge design
- Please review the visitor badge designs below
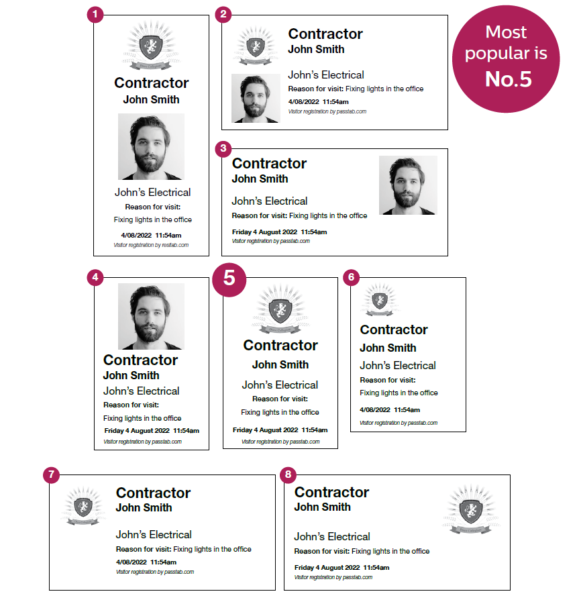
- Please review the visitor badge designs below
-
Configuring Passtab with your visitor badge design
- Our configurations team will configure your Passtab account to your chosen badge design.
- Please email support@invision.net.au with the following details:
I have connected the printer and successfully printed a test badge.
Please configure my Passtab account for badge design number ____
I wish to print badges for ______________________________
-
Order label rolls for your printer
- To order label rolls for your printer please visit the Passtab online store
Troubleshooting
If you need assistance fixing issues with your printer we suggest following the advice in this article: Visitor badge label printer problems